Whether you’re an aspiring photographer or a seasoned pro, sometimes the best studio is closer than you think. With a bit of creativity and a few tools, your living space can transform into the ideal shoot location. Here’s how to make the most out of your home and create your very own photo studio. Read on to create your own DIY Home Photo Studio!
1. Seek the Light
One of the most critical elements in photography is lighting. Before you consider external light sources:
- Natural Light: Identify areas in your home that receive ample natural light. A window can act as a fantastic, soft light source. Sheer curtains can help diffuse this light, reducing harsh shadows.
2. Background Basics
- DIY Backdrops: You don’t need to purchase expensive backdrops. A plain wall, a bedsheet, or some craft paper can work wonders. Ensure they’re wrinkle-free for a clean look.
- Dynamic Setups: Use your furniture and home décor. A cozy armchair, a bookshelf, or even a textured wall can add depth and interest to your photos.
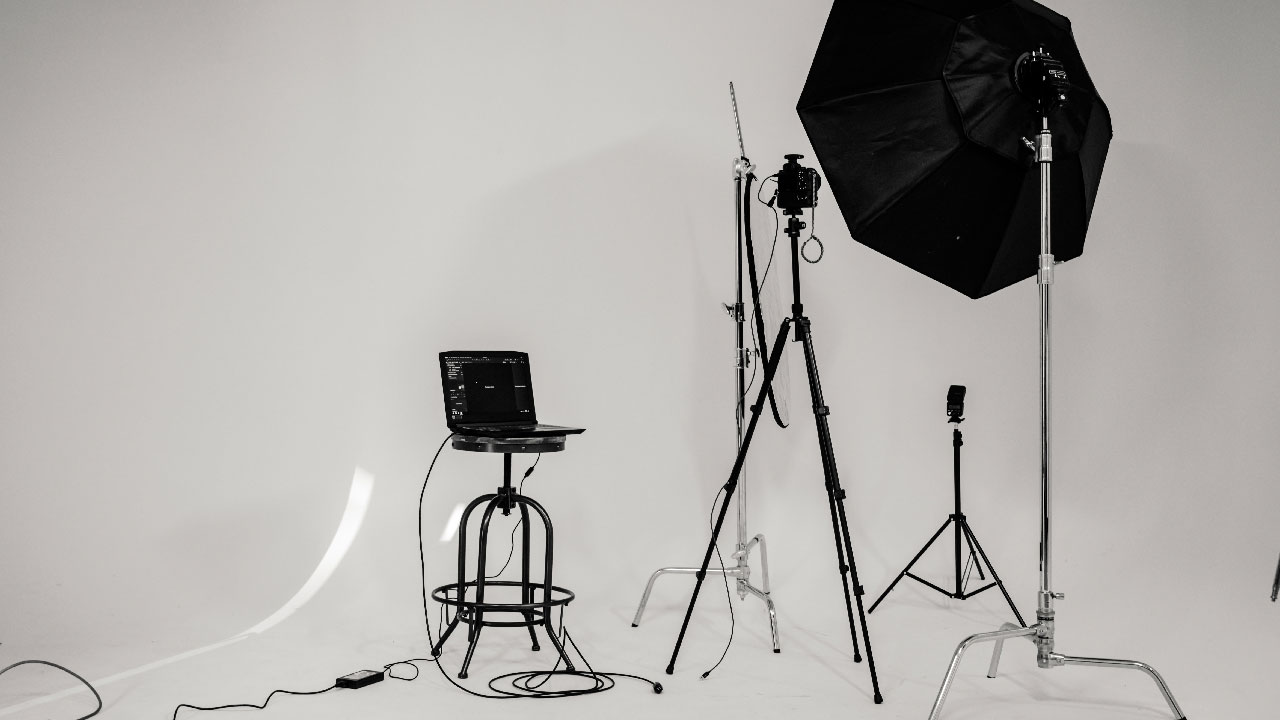
3. Tripod Triumph
A sturdy tripod is a must-have. Not only does it keep your camera stable, but it also allows for various angles and heights. Consider tripods with adjustable legs and heads for maximum flexibility.
4. Reflect and Diffuse
- Reflectors: These bounce light onto your subject, eliminating shadows. A simple DIY reflector can be made using aluminum foil and a cardboard.
- Diffusers: Soften your light sources. An umbrella, a white bedsheet, or even a shower curtain can act as diffusers.
5. Flash Fundamentals
Sometimes, natural light isn’t enough. A good flash can be pivotal:
- External Flash: Much versatile than built-in flash, they can be angled to bounce light.
- DIY Softbox: Soften the light from your flash using a cardboard box lined with aluminum foil and covered with white fabric.
6. Store Smartly
Having a designated space for your gear can streamline your process:
- Shelves and Drawers: Organize your equipment, cables, and props so they’re easily accessible.
- Pegboards: A great way to hang smaller equipment and accessories.
7. Props and Accessories
Add flair to your photos:
- DIY Props: Scour your home for interesting items – books, glasses, plants, or fabrics can add layers to your pictures.
- Thrift Stores: These can be goldmines for unique, inexpensive props.
8. Set the Mood
- Music: A soft playlist can help subjects relax.
- Mood Lighting: Portable LED lights or even fairy lights can create a warm ambiance.
9. Experiment and Adapt
Your home studio will be an evolving space. Regularly rearrange, experiment with different setups, and continually seek inspiration. Platforms like Pinterest can be great for DIY studio ideas.
Conclusion:
Your home, irrespective of its size, holds the potential to be a fantastic photo studio. With a pinch of creativity, a dash of DIY spirit, and a sprinkle of passion, you can create professional-quality photos right in your living space. So, roll up those sleeves and start transforming your home into the studio of your dreams.
Want to check out my other articles? Check out the one I wrote about Black And White Photography!
1 thought on “DIY Home Photo Studio (2023)”